
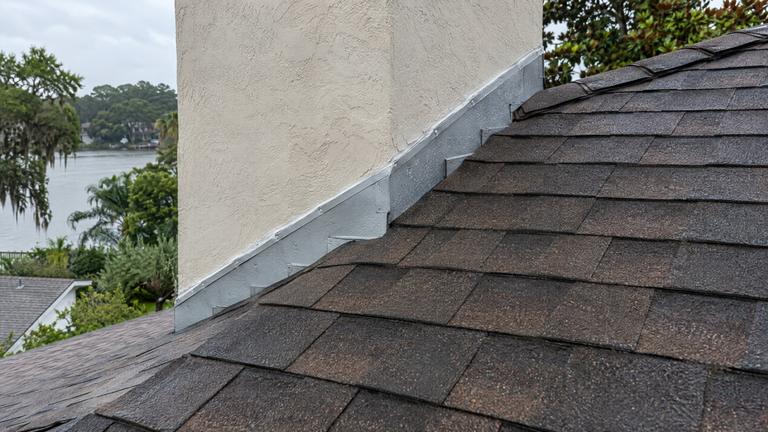
Chimney flashing repair from local pros in Pine Castle
We check every face of the flashing on your Pine Castle chimney, explain the repair in writing and do the work you approve. 100% satisfaction guaranteed.
- Licensed & insured
- Locally run
- Family owned and operated
- Same-day service available



What your chimney flashing estimate in Pine Castle covers
These items keep a flashing job in Pine Castle from turning into a second trip to the roof.
- Laps between counter and base flashing
- Old tar, caulk and patch metal to remove
- Mortar condition where counter flashing anchors
- Sealant products and where each one goes
Getting the flashing right on Pine Castle chimneys
A closer look at the work, from our family-owned crew serving Pine Castle.
How step flashing works with each shingle course
Along the sides of a chimney on a shingle roof, flashing goes in as a run of short L-shaped pieces, one for each course. Every piece is tucked under the shingle above and over the shingle below, so metal and roofing overlap like scales all the way up the slope.
That weave is why step flashing cannot simply be slid in from the outside. Replacing it usually means lifting the shingles along the side of the chimney, pulling the old pieces and setting new ones course by course. Your written estimate says how many courses are opened and how the shingles go back.
Solar panels close to the chimney
Solar arrays sometimes sit tight against a chimney, which can limit the room needed to lift roofing and set new flashing. Panels also change where water runs on the roof, especially where rails or conduit cross near the chimney.
We check the clearance around the chimney before quoting. If panels need to be moved or shielded during the flashing work, we tell you up front so the solar installer can be booked. The repair is then planned around that access rather than squeezed in.
What finished flashing looks like from the ground
After a proper reflash, counter flashing runs in clean lines along the mortar joints or the chimney face, the apron sits flat across the front and the step pieces disappear beneath the roofing along the sides.
There should be no smeared tar, no exposed nail heads and no loose metal edges. If you look from the yard with binoculars after a repair, those are the details to check. Before we leave, we walk you through what was done so you know what good work looks like on your own roof.
Why we discourage do-it-yourself flashing patches
Roof work is risky, and a tube of sealant spread over a gap usually makes the next repair harder. Sealant stuck to brick and metal has to be scraped off before the real problem can be seen and fixed.
If you need a stopgap before we can get there, call and we will talk it through with you. We would rather help you avoid both a fall and an extra layer of sealant than fix both afterward.
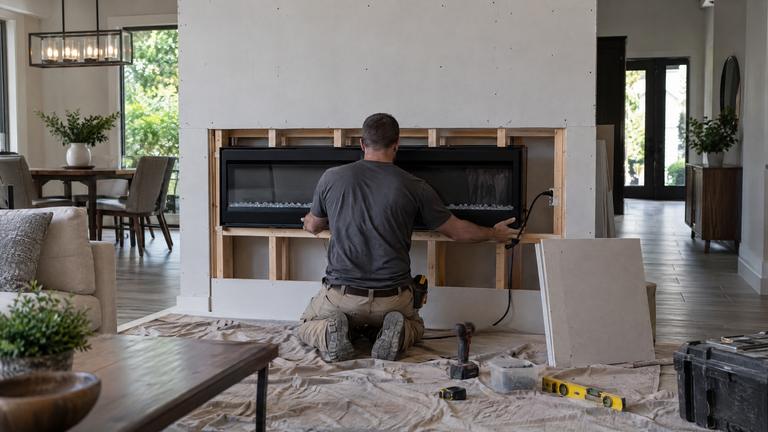
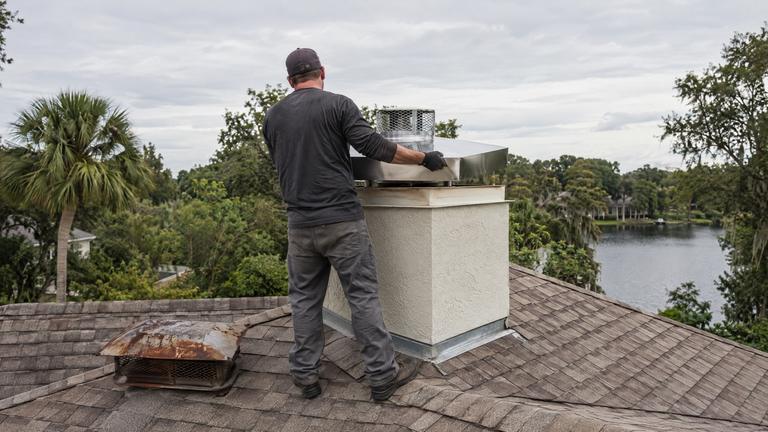
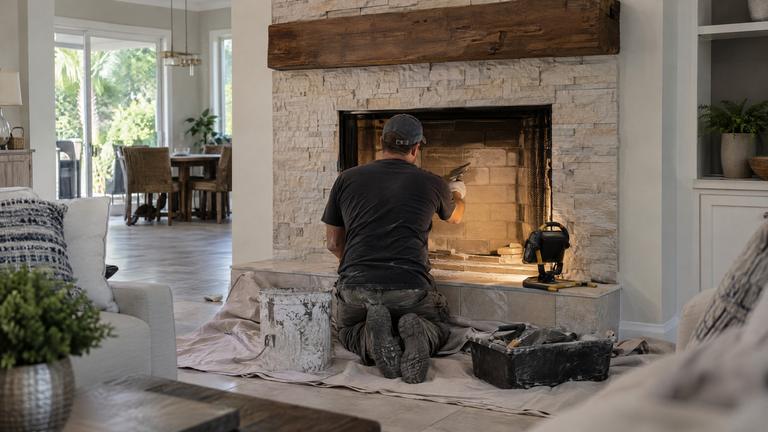
Other work in Pine Castle
-
-
-
-
-
-


Learn more about chimney flashing repairPine Castle services
Before your flashing job in Pine Castle
If your question is not here, our Pine Castle team is a phone call away.
How do you know the leak is the flashing and not the chimney itself?
During the free inspection we check the crown, cap, brick and flashing and trace how water reaches the stain. If the flashing is not the source, we tell you and point to the repair that is.
Can the new flashing be painted to match?
Some metals take paint well and some are better left bare, and paint only holds on a clean, prepared surface. We tell you which is which for your flashing. If you choose paint, the product and the color go into your written scope, so the finish can be matched later.
Request your free estimate
Share the job details and arrange a free inspection with our local team.
- Free inspection
- No hidden fees
- Family owned and operated
Need an answer now? Call (352) 675-6376
Your request is received
Thank you. We will contact you to discuss the job and confirm an appointment.